How to Create a Session So You Can Register Participants
Purpose
Before participants can be registered in the system, a session must be created. This article walks you through creating a session and setting it up correctly so you can later add and register participants.
Step-by-Step: Creating a Session
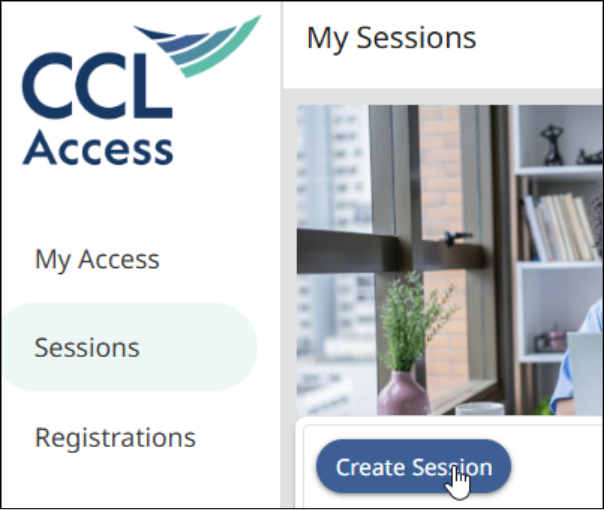
1. Start in the Sessions Module
- Navigate to the Sessions module.
- Click Create a Session to open the Create Session form.
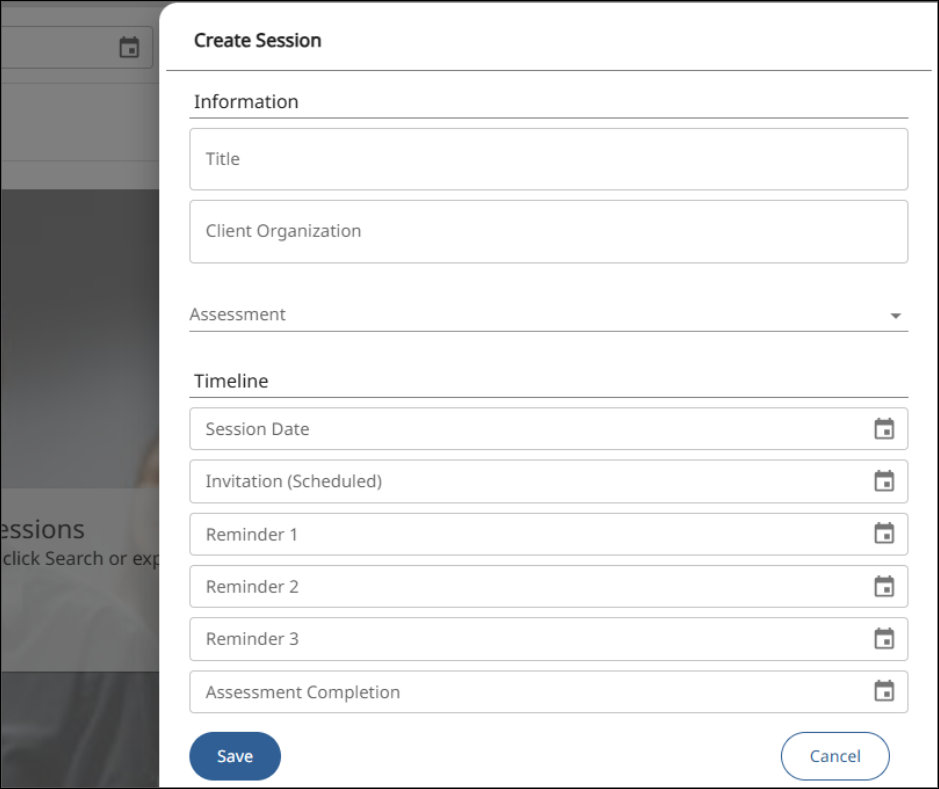
2. Name the Session
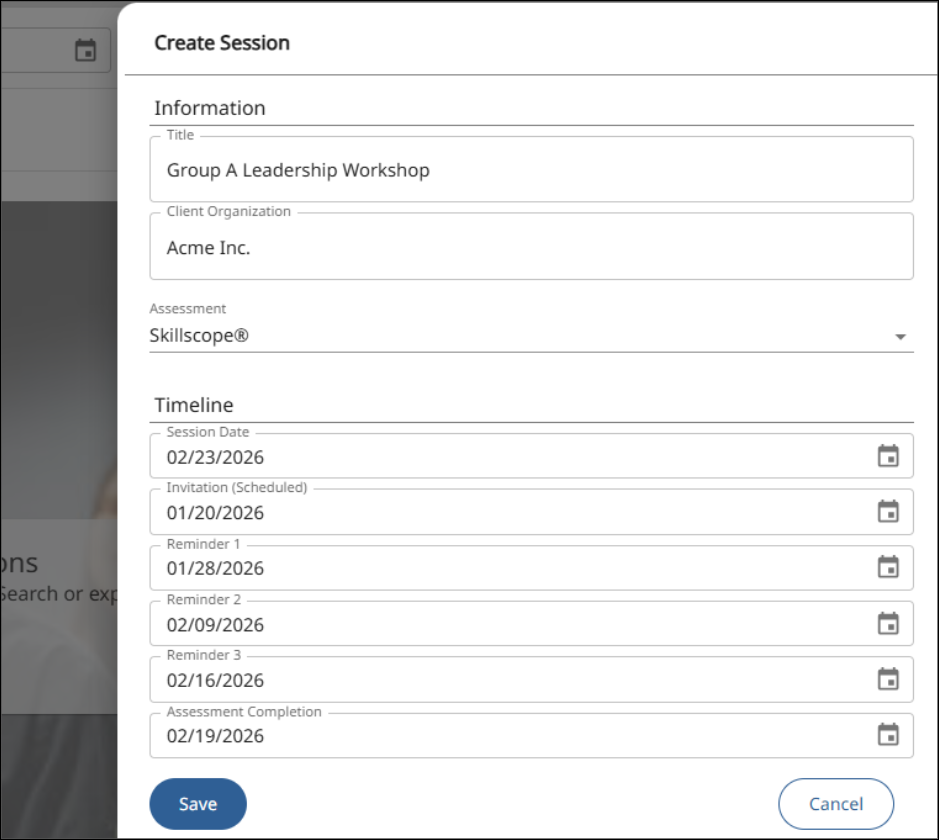
- Enter a session title that clearly reflects the group or individual.
- This title appears in the subject line of the participant invitation email, so make it meaningful and recognizable.
Example:
Leadership Team Development
3. (Optional) Enter Client Organization
- The Client Organization field is not required.
- If you are a consultant working with multiple organizations, entering an organization name can help you distinguish sessions.
Example:
AAA Parts Company
4. Select the Assessment
- Choose the assessment that will be used in the session.
- Only assessments available in the system will appear.
- In the example, Benchmarks for Managers is selected.
Set the Session Timeline Carefully
Proper date planning is critical to successful participant registration and completion.
5. Understand Time Requirements
Participants need time to:
- Select and enter their raters
- Complete their self‑survey
Raters also need time to complete their surveys.
Recommended timelines:
- Multiple participants: Allow 4–6 weeks
- Single participant: A shorter timeline may be acceptable
6. Set Key Dates
You will define several important dates during session creation:
- Session Date
The date when the session takes place
Example: April 20 - Invitation Date
When participant invitations are sent
Example: Monday, March 9 - Assessment Completion Date
The last day participants and raters can submit their surveys
Example: April 13
Tip: Leave enough time after this date for facilitators to review reports and prepare feedback conversations. In the example, this allows 7 days for report processing.
Configure Reminder Emails
Because participants and raters are often busy:
- You can schedule up to three optional reminders
- Reminders are sent only to participants and raters who have not completed their work
Example schedule:
- Reminder 1: Near the invitation date (March 9)
- Reminder 2: Midway through the process (March 16)
- Reminder 3: Close to the due date (April 6)
Finalize the Session
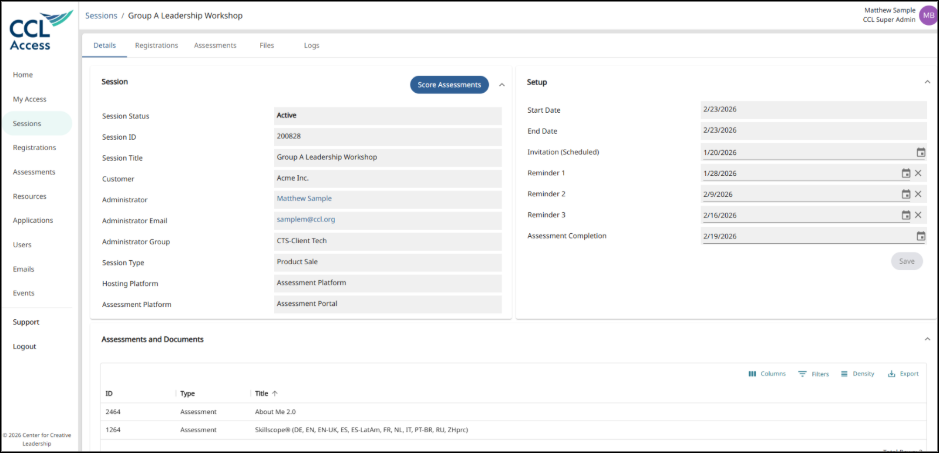
7. Review and Save
- Double‑check all details and dates.
- Click Save.
Your session is now created.
Next Step: Register Participants
Once the session is created:
- Open the session details screen
- Click the Registrations tab
- From there, you can add and register participants
Participant registration is covered separately, but creating the session correctly is a required first step.
Key Takeaways
- A session must exist before participants can be registered.
- Session titles appear in participant emails—choose carefully.
- Plan timelines realistically to allow participants, raters, and facilitators enough time.
- Reminder emails help improve completion rates.
- After saving the session, use the Registrations tab to add participants.