This article provides step-by-step instructions for registering participants in a session and managing their registration details in the system.
Before You Begin
Before registering participants, make sure to:
- Send an email to participants informing them about the upcoming session.
- Ask participants to watch for an account setup invitation email from CCL.
- Advise participants to check their spam or junk folder if they do not see the invitation.
Step 1: Open the Session
- Navigate to the Sessions module.
- Select the session where you want to add participants.
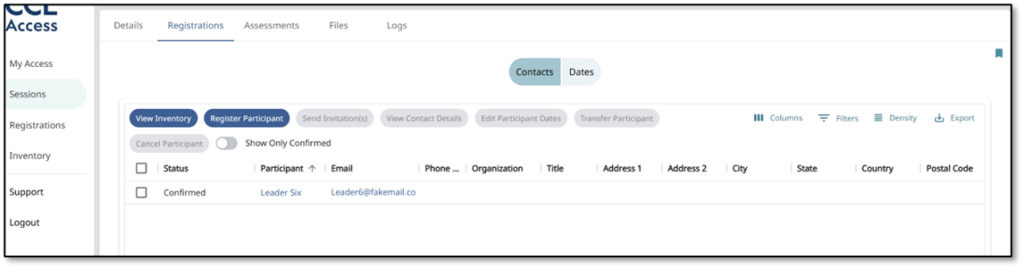
- Click the Registrations tab.
⚠️ Important: Do not proceed with registration unless sufficient inventory is available.
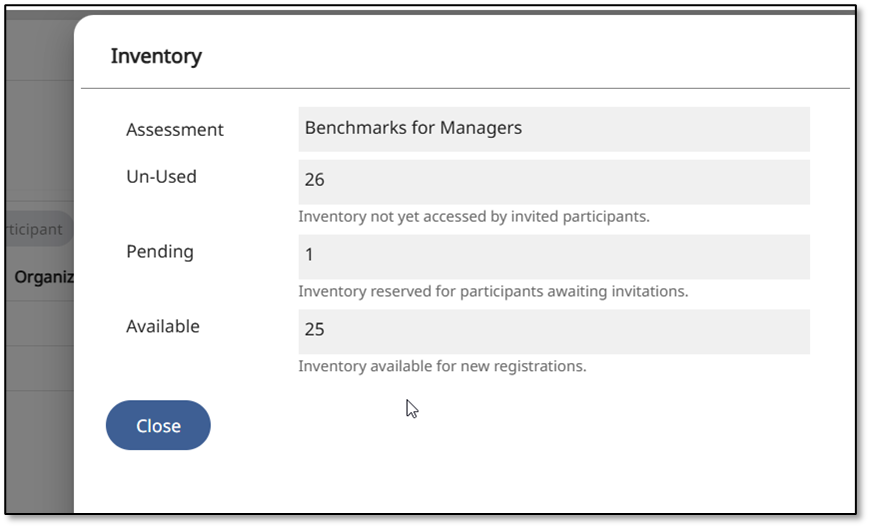
Step 2: Check Assessment Inventory
- Click View Inventory.
- Review the available assessment inventory.
- Confirm there are enough assessments for all participants you plan to register.
Step 3: Register a Participant
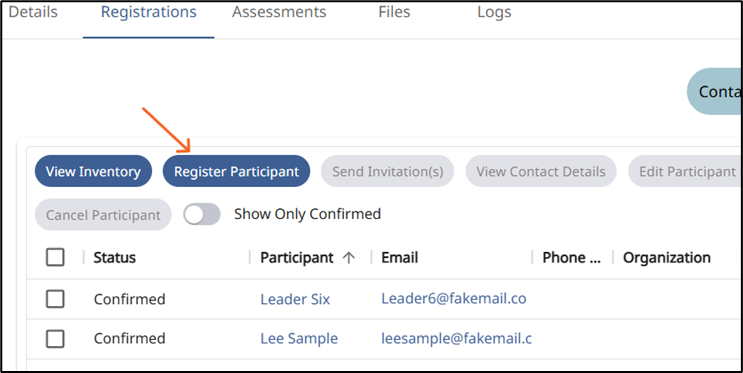
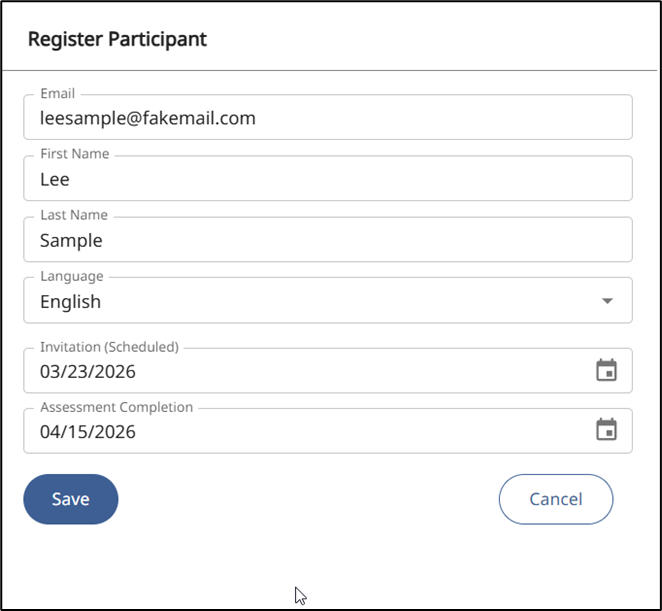
- Click Register Participant.
- Enter the required fields: Email Address, First Name, Last Name
- The email address serves as the participant’s account ID.
- If the participant already has an account, their name fields may auto-populate.
- If the participant is new to the system, you must manually enter their first and last name.
- Set or Adjust the Due Date
- The default due date is based on the scheduled invitation date set during session setup.
- Adjust the due date if participants or their raters need additional time.
- The due date appears in all invitations and reminder emails.
- Click Save to complete the registration.
✅ Once saved, the participant will appear in the registration list.
Tips for Managing Large Groups
For sessions with 40–50 participants, consider using cohorts.
Best Practices
- Divide participants into cohorts.
- Assign specific facilitators to each cohort.
- Group participants by division when appropriate.
- Assign different session or due dates as needed.
Benefits of Using Cohorts
- Balances workload among facilitators
- Speeds up scoring
- Provides clear ownership and accountability
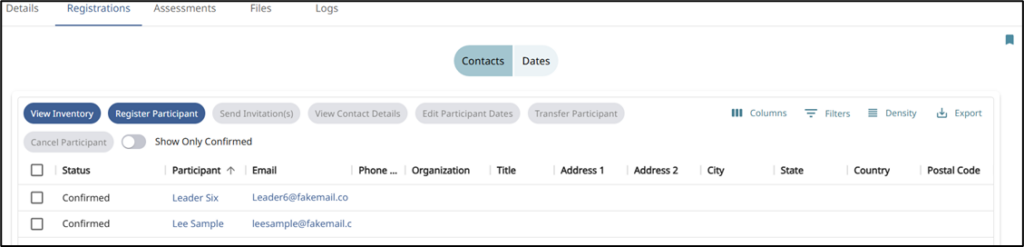
Viewing Participant Details
You can switch between views in the Registrations tab to see different participant information.
Contacts View
Displays participant contact information, including:
- Name
- Organization
- Address details
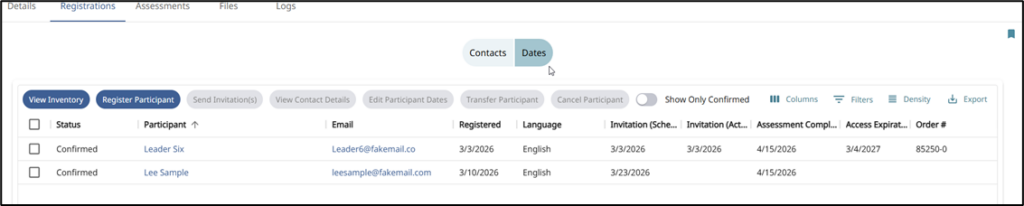
Dates View
Displays key scheduling and access information:
- Assigned language
- Scheduled invitation date
- Last invitation sent date
- Response due date
- System access end date
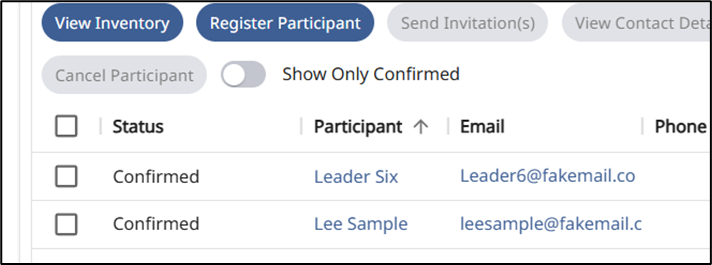
Using Registration Tools
Select one or more participants in the Registrations tab to access management tools:
- Send Invitations – Sends invitations if they have not already been sent .
- View Contact Details – View contact details for the participant
- Edit Participant Dates – Change dates associated with the participant
- Transfer Participant – Moves a participant to a different session.
- Cancel Participant – Cancels the participant immediately.
- ⚠️ Note: A participant cannot be canceled if they have already started the assessment process.